A Budget-Friendly Way to Fill Tall Raised Beds Without Breaking Your Back or the Bank
- tmavraides
- Apr 25, 2025
- 3 min read
Updated: Apr 25, 2025

Let’s talk about filling tall raised beds—because if you’ve ever built one, you know they’re wonderful until it’s time to fill them. That’s when you realize… you’re going to need a lot of soil. And if you’re doing several beds at once? Oh my gosh. That adds up fast. As I get older I have been replacing the raised beds we have with even taller ones to help with a back issue. I can’t imagine trying to buy enough raised bed soil to fill even one much less the 7 that I have!
But I’ve found a way to do it that works beautifully, keeps things organic, and doesn’t drain the budget.
Here’s what I do.
Start with straw.
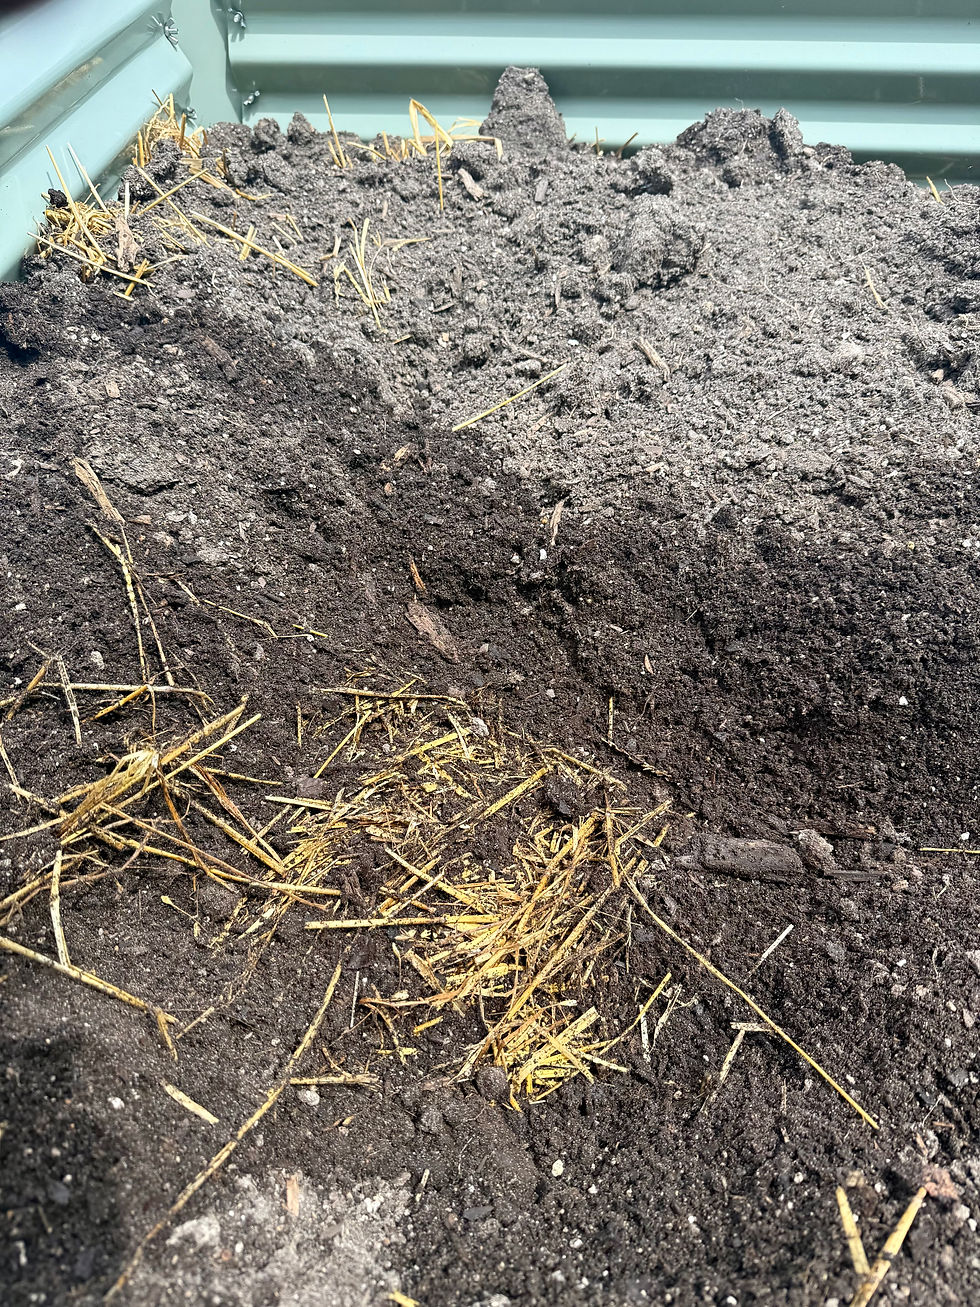
Yep—plain old straw bales. I lay them right in the bottom of the bed. If the bed is really deep, I might stack a couple layers. Straw breaks down over time and creates lovely organic matter. It also helps with drainage, keeps the soil from compacting too much, and gives those roots something soft and forgiving to grow into.
Next comes a mix of soil and compost.
Once the straw’s in place, I start layering in a mixture of:
Topsoil (from the garden center or a local source if I can get it)
Homemade compost (or bagged if I need to stretch it)
A few scoops of aged manure if I’ve got some on hand
I have a worm bin that is doing really well so I always have worm compost on hand as well. We will cover that another day.
And then I boost it with amendments.
To give my plants the best start, I always mix in a few tried-and-true natural amendments:
Bone meal – for phosphorus, helps with root development and flowering
Blood meal – rich in nitrogen, gives leafy greens that early boost
Crushed eggshells – for calcium. Please note the eggshells work best when dried and ground down into a powder. If you leave the eggshells in larger pieces it will take a really long time before your soil will benefit from the calcium. I dry my eggs shells in my dehydrator, full disclosure the smell isn't great.
Wood ash – sparingly, to help raise pH if the bed needs it
I don’t measure things out perfectly—just a couple good handfuls here and there as I layer. Gardening doesn’t have to be fussy to work.
Let it settle, then plant. I like to get the beds ready about 10 days before I am ready to move my plants in. I have found that the soil is thriving by then which helps with transplant shock.
A good soaking helps everything shift and settle into place. I water the beds even though they are not planted every other day to encourage microorganism growth. Then I top off with just a little more compost or soil if it’s sunken down.
Here’s the best part (other than all the other “best parts”) : the straw breaks down over the season and feeds the soil going forward!
And that’s it.
Simple. Affordable. And a lot easier than filling the whole thing with expensive bagged soil.
If you’re starting your raised beds this year, give this method a try. Your plants will thrive, and your budget will breathe a little easier.


You know what? I am going to need to redo a couple of my tall beds (I am adding hardtack to the bottom bc of moles🤦♀️) and I will give this a go. We have always used wood, but this really makes better sense. Thank You!